Troubleshooting Vista Edge Vape: Common Issues And Fixes
Device Not Powering On
A frustrating experience for any vaper is encountering a device that simply won’t power on. When your Vista Edge vape refuses to wake up, it can leave you stranded without your preferred way to enjoy your e-liquid.
Battery Problems
One common culprit behind this issue is battery problems. Vista Edge vapes utilize rechargeable batteries, and like all batteries, they have a limited lifespan. If your battery is drained or nearing the end of its cycle, it may not have enough power to activate the device.
Charging Issues
Before assuming your Vista Edge vape’s battery is dead, make sure it’s properly charged. Connect your device to a reliable charger and leave it plugged in for at least an hour to ensure a full charge. Sometimes, the charging port can become obstructed with debris, preventing a proper connection. Use a dry, soft cloth or compressed air to gently clean any dirt or residue from the charging port on both the vape and the charger.
Button Malfunction
Another potential issue is a malfunctioning button. The fire button on your Vista Edge vape is responsible for activating the device. If this button is stuck, damaged, or not pressed firmly enough, it may fail to send the signal required to power on the device.
Carefully inspect the fire button for any visible damage or debris. Try gently pressing and releasing the button multiple times to see if it responds. If you suspect the button is sticking, you can carefully clean around it with a dry cloth.
Vape Pen Not Producing Vapor
A vape pen failing to produce vapor can be incredibly frustrating. This issue could stem from a variety of problems, ranging from simple battery issues to more complex malfunctions.
Wicking Issues
One frequent cause of vaporless vaping is related to the wicking system. The wick within your vape pen absorbs e-liquid and delivers it to the heating element, creating vapor when heated. If the wick becomes dry or clogged, it won’t effectively transfer the e-liquid, resulting in a lack of vapor production.
To address this issue, begin by ensuring your tank is adequately filled with e-liquid. Check if the wick is visible through the fill port and make sure there isn’t any residue or debris obstructing its path. If the wick appears dry or discolored, it may need replacing.
Another possibility is that the coil is burned out. A burnt-out coil can also lead to vaporless vaping. To determine if this is the case, examine the coil for discoloration or a charred appearance. If you notice any signs of burning, it’s time to replace the coil.
Coil Failure
A common reason a vape pen won’t produce vapor is a failed coil. The coil heats up the e-liquid, creating vapor. When a coil burns out or becomes damaged, it can no longer heat effectively, resulting in little to no vapor.
To check for a faulty coil, inspect it visually for signs of burning, discoloration, or warping. If you see any damage, it’s best to replace the coil with a new one.
E-Liquid Flow Problems
A common reason a vape pen won’t produce vapor is e-liquid flow problems. The e-liquid needs to reach the coil properly in order for the device to generate vapor.
- Check the Tank Level: Ensure your tank is filled with enough e-liquid. It may seem obvious, but a low e-liquid level can prevent proper flow.
- Inspect the Airflow:** Make sure the airflow holes on the mouthpiece and base of the tank are clear of any blockages.
- Look for Clogs: Inspect the wick and the coil for any signs of buildup or clogs. These can restrict e-liquid flow.
- Try a Different E-Liquid Viscosity: If you’re using a very thick e-liquid, it may be harder to draw through the system. Experiment with a thinner viscosity.
Leaking Device
Troubleshooting common issues with your Vista Edge vape can save you time and frustration. From power problems to vapor production difficulties, understanding the potential causes can empower you to resolve these issues effectively.
Loose Connections
Leaking devices and loose connections are common issues that can arise in vaping devices, including the Vista Edge. These problems can lead to a diminished vaping experience and even damage the device if left unresolved.
- Check for Cartridge Issues: Ensure the cartridge is properly seated and aligned with the vape’s threading system. A loose or misaligned cartridge can create leaks.
- Inspect O-Rings: O-rings are small rubber rings that create a seal within the device. Examine them for wear, tear, or displacement. Replace any damaged or missing O-rings.
- Tighten Connections: Check all connections, including the battery to atomizer connection and any airflow adjustments. Tighten any loose screws or connectors.
Damaged O-Rings
Leaking can be a frustrating problem with a vape device like the Vista Edge. One common cause is damage to the O-rings. These small rubber rings create seals within the device, preventing leaks. If an O-ring is worn, torn, or misplaced, e-liquid can escape.
To address leaking caused by damaged O-rings, inspect all O-ring locations carefully. Pay attention to the connections between the battery and atomizer, as well as any other points where seals are necessary. Damaged O-rings should be replaced with new ones of the correct size and material.
Overfilling the Tank
Overfilling the tank is a common mistake that can lead to leaks in your Vista Edge vape. When you fill the tank beyond its capacity, e-liquid can overflow and escape through the airholes or the top of the tank.
To prevent overfilling, always refer to your device’s manual for the recommended fill level. Avoid filling the tank all the way to the top. Leave a small amount of space at the top to accommodate any expansion of the e-liquid due to heat.
Burnt or Dry Hit Flavor
A distinctive taste often described as burnt, dry, or even acrid can indicate a problem with your Vista Edge vape. This unpleasant flavor occurs when the heating element overheats the wick and coils, leading to the breakdown of the e-liquid and producing an undesirable taste.
Using Too High Wattage
One common cause of this burnt or dry hit flavor is using too high wattage. The wattage setting determines the heat applied to the coil, and exceeding the recommended range for your device can lead to overheating.
To prevent burnt hits, start with a lower wattage setting and gradually increase it until you find a sweet spot that produces satisfying vapor without any unpleasant flavors.
Low E-Liquid Level
Burnt or dry hit flavor, often described as acrid or metallic, indicates that the heating element is overheating the wick and coils. This results in the breakdown of the e-liquid, producing an undesirable taste.
One common culprit for this issue is a low e-liquid level. When the tank is nearly empty, the coil can heat up without sufficient e-liquid to vaporize, leading to a dry, burnt sensation. Regularly check your e-liquid level and refill as needed.
Another possibility is using too high of a wattage setting. This applies excessive heat to the coil, causing it to burn the e-liquid. Experiment with lower wattage settings to find the optimal balance between vapor production and flavor quality.
It’s also crucial to ensure your wick is properly saturated with e-liquid. A dry wick can lead to a burnt taste as it directly contacts the hot coil.
Clogged Airflow
Burnt or dry hit flavor, often described as acrid or metallic, indicates that the heating element is overheating the wick and coils. This results in the breakdown of the e-liquid, producing an undesirable taste.
One common culprit for this issue is a low e-liquid level. When the tank is nearly empty, the coil can heat up without sufficient e-liquid to vaporize, leading to a dry, burnt sensation. Regularly check your e-liquid level and refill as needed.
Another possibility is using too high of a wattage setting. This applies excessive heat to the coil, causing it to burn the e-liquid. Experiment with lower wattage settings to find the optimal balance between vapor production and flavor quality.
It’s also crucial to ensure your wick is properly saturated with e-liquid. A dry wick can lead to a burnt taste as it directly contacts the hot coil.
Clogged airflow occurs when the openings that allow air to mix with the vapor are blocked. This can result in weak or diminished vapor production and may even cause leaking.
To identify clogged airflow, inspect the mouthpiece and base of your vape tank for any blockages. Debris, such as lint or dried e-liquid, can accumulate in these areas, restricting airflow. Use a dry, soft brush or compressed air to gently clean out any obstructions.
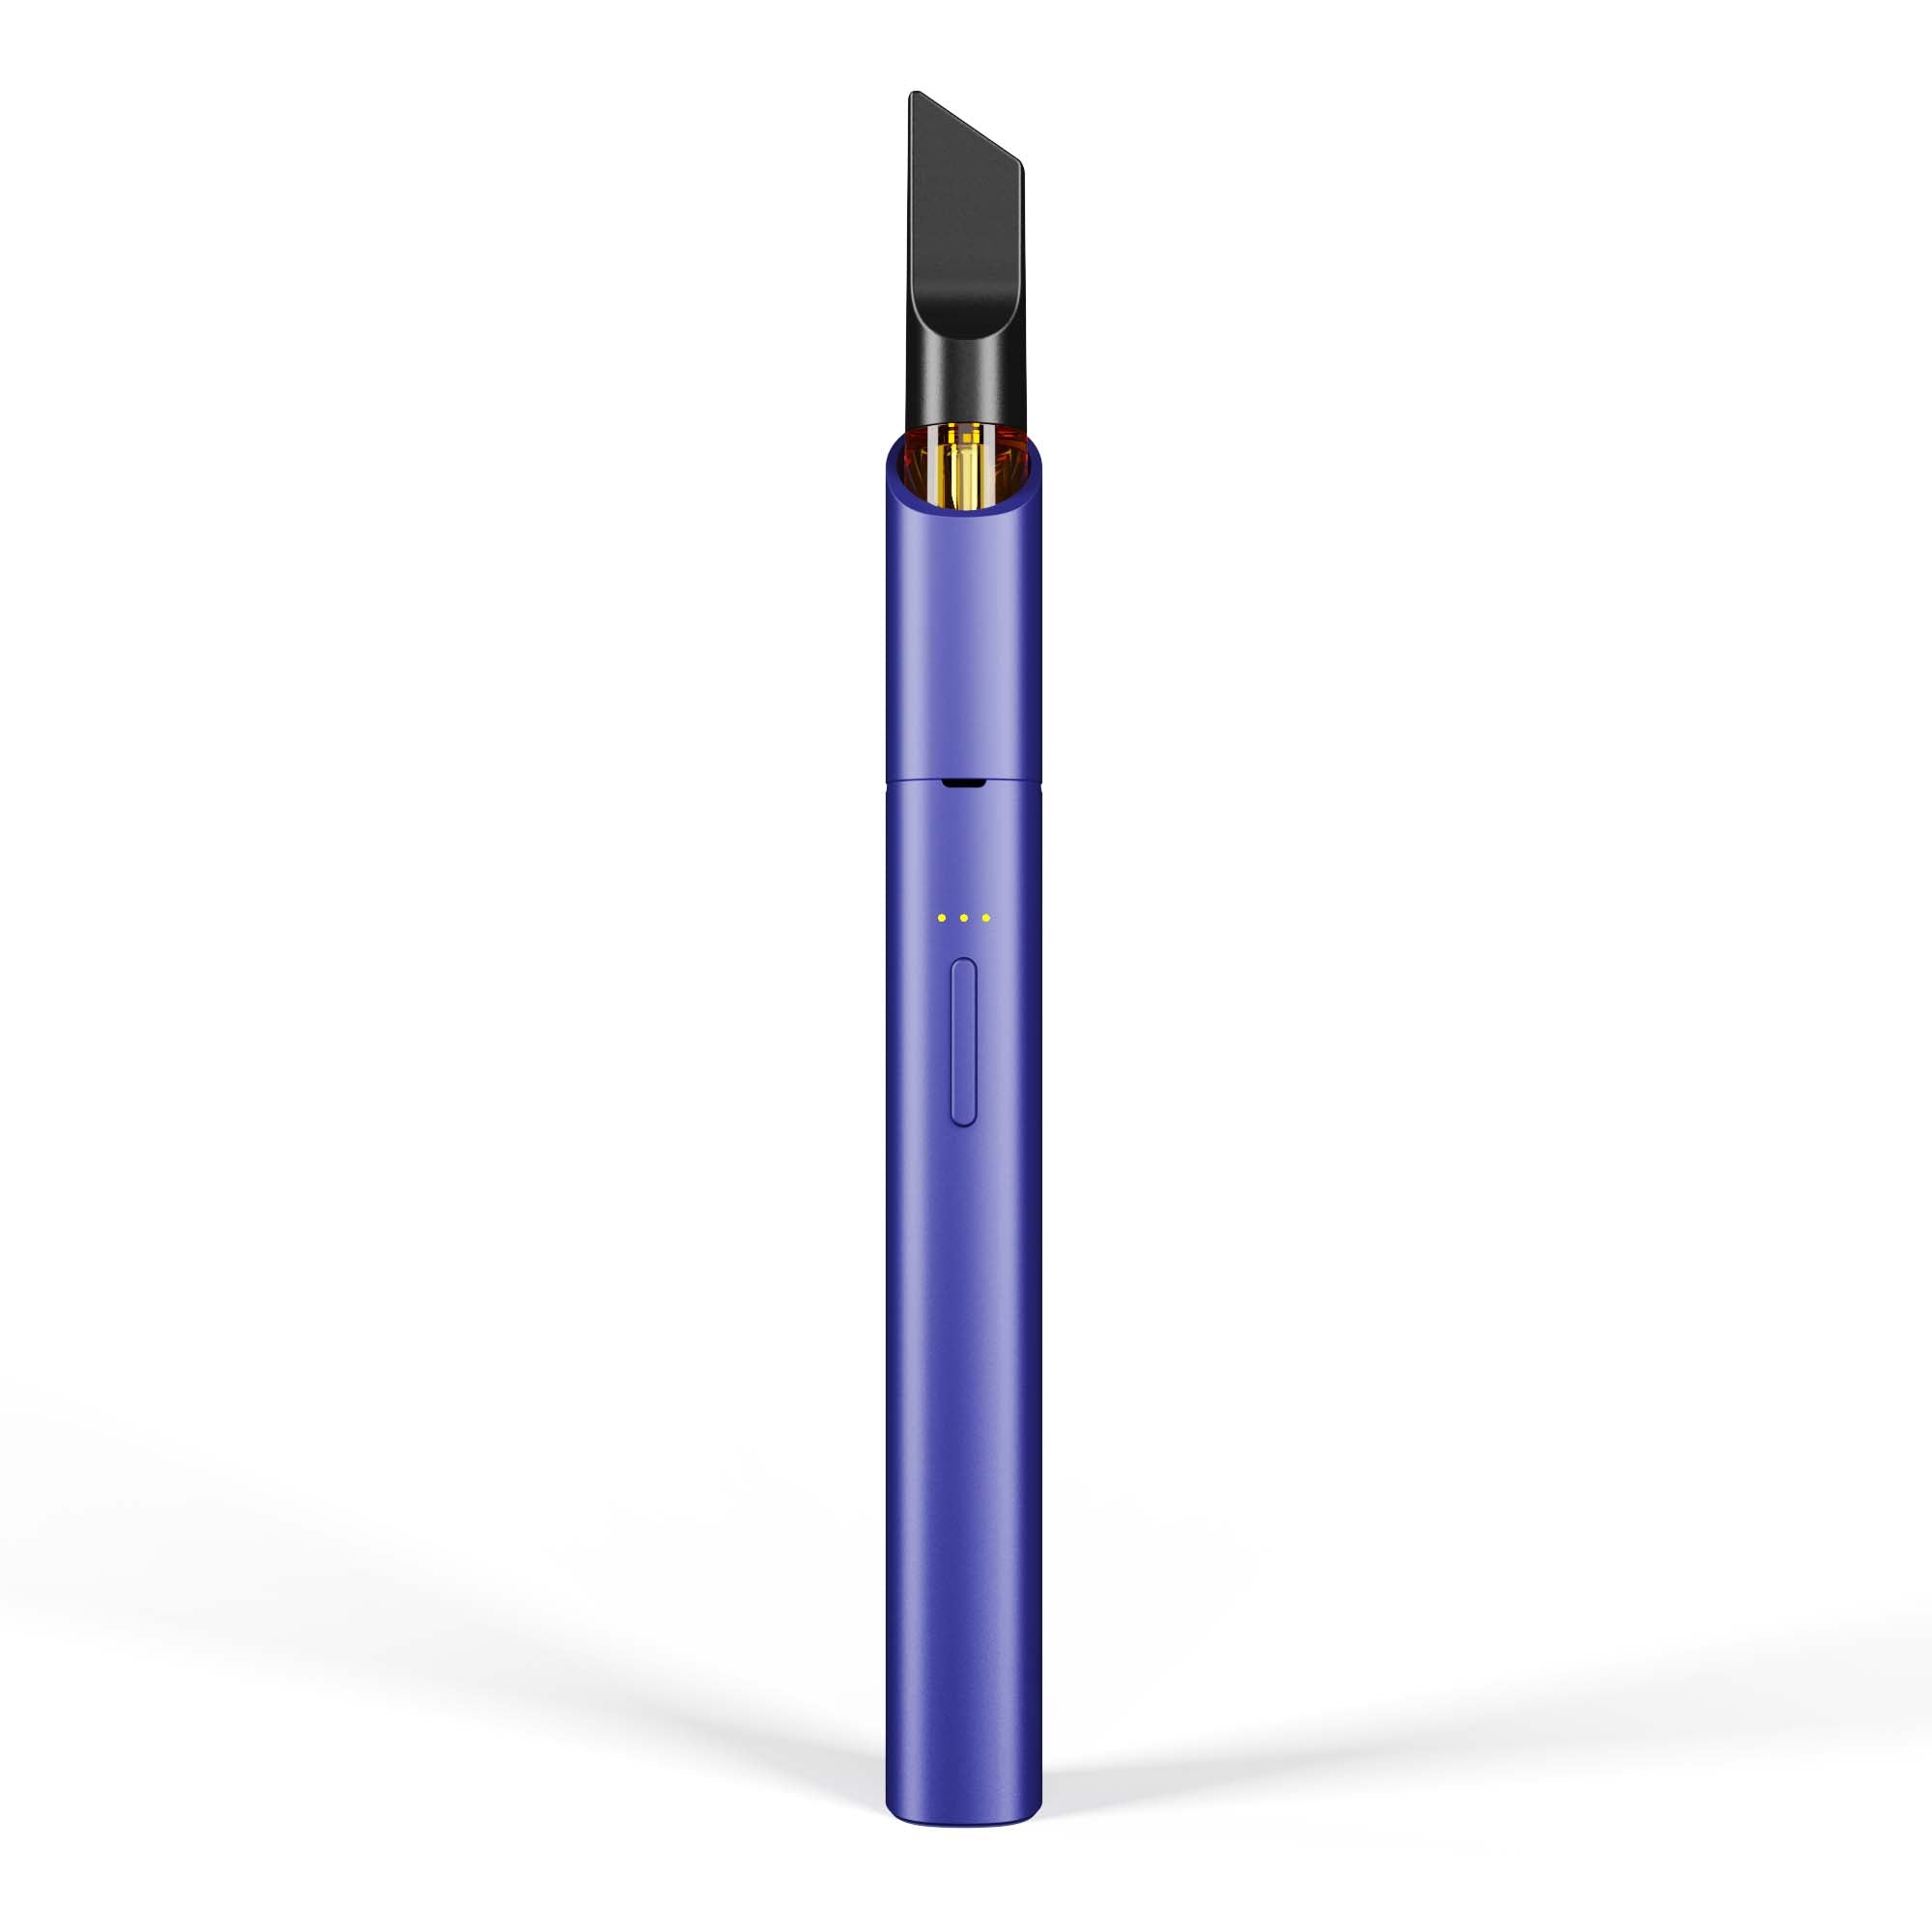
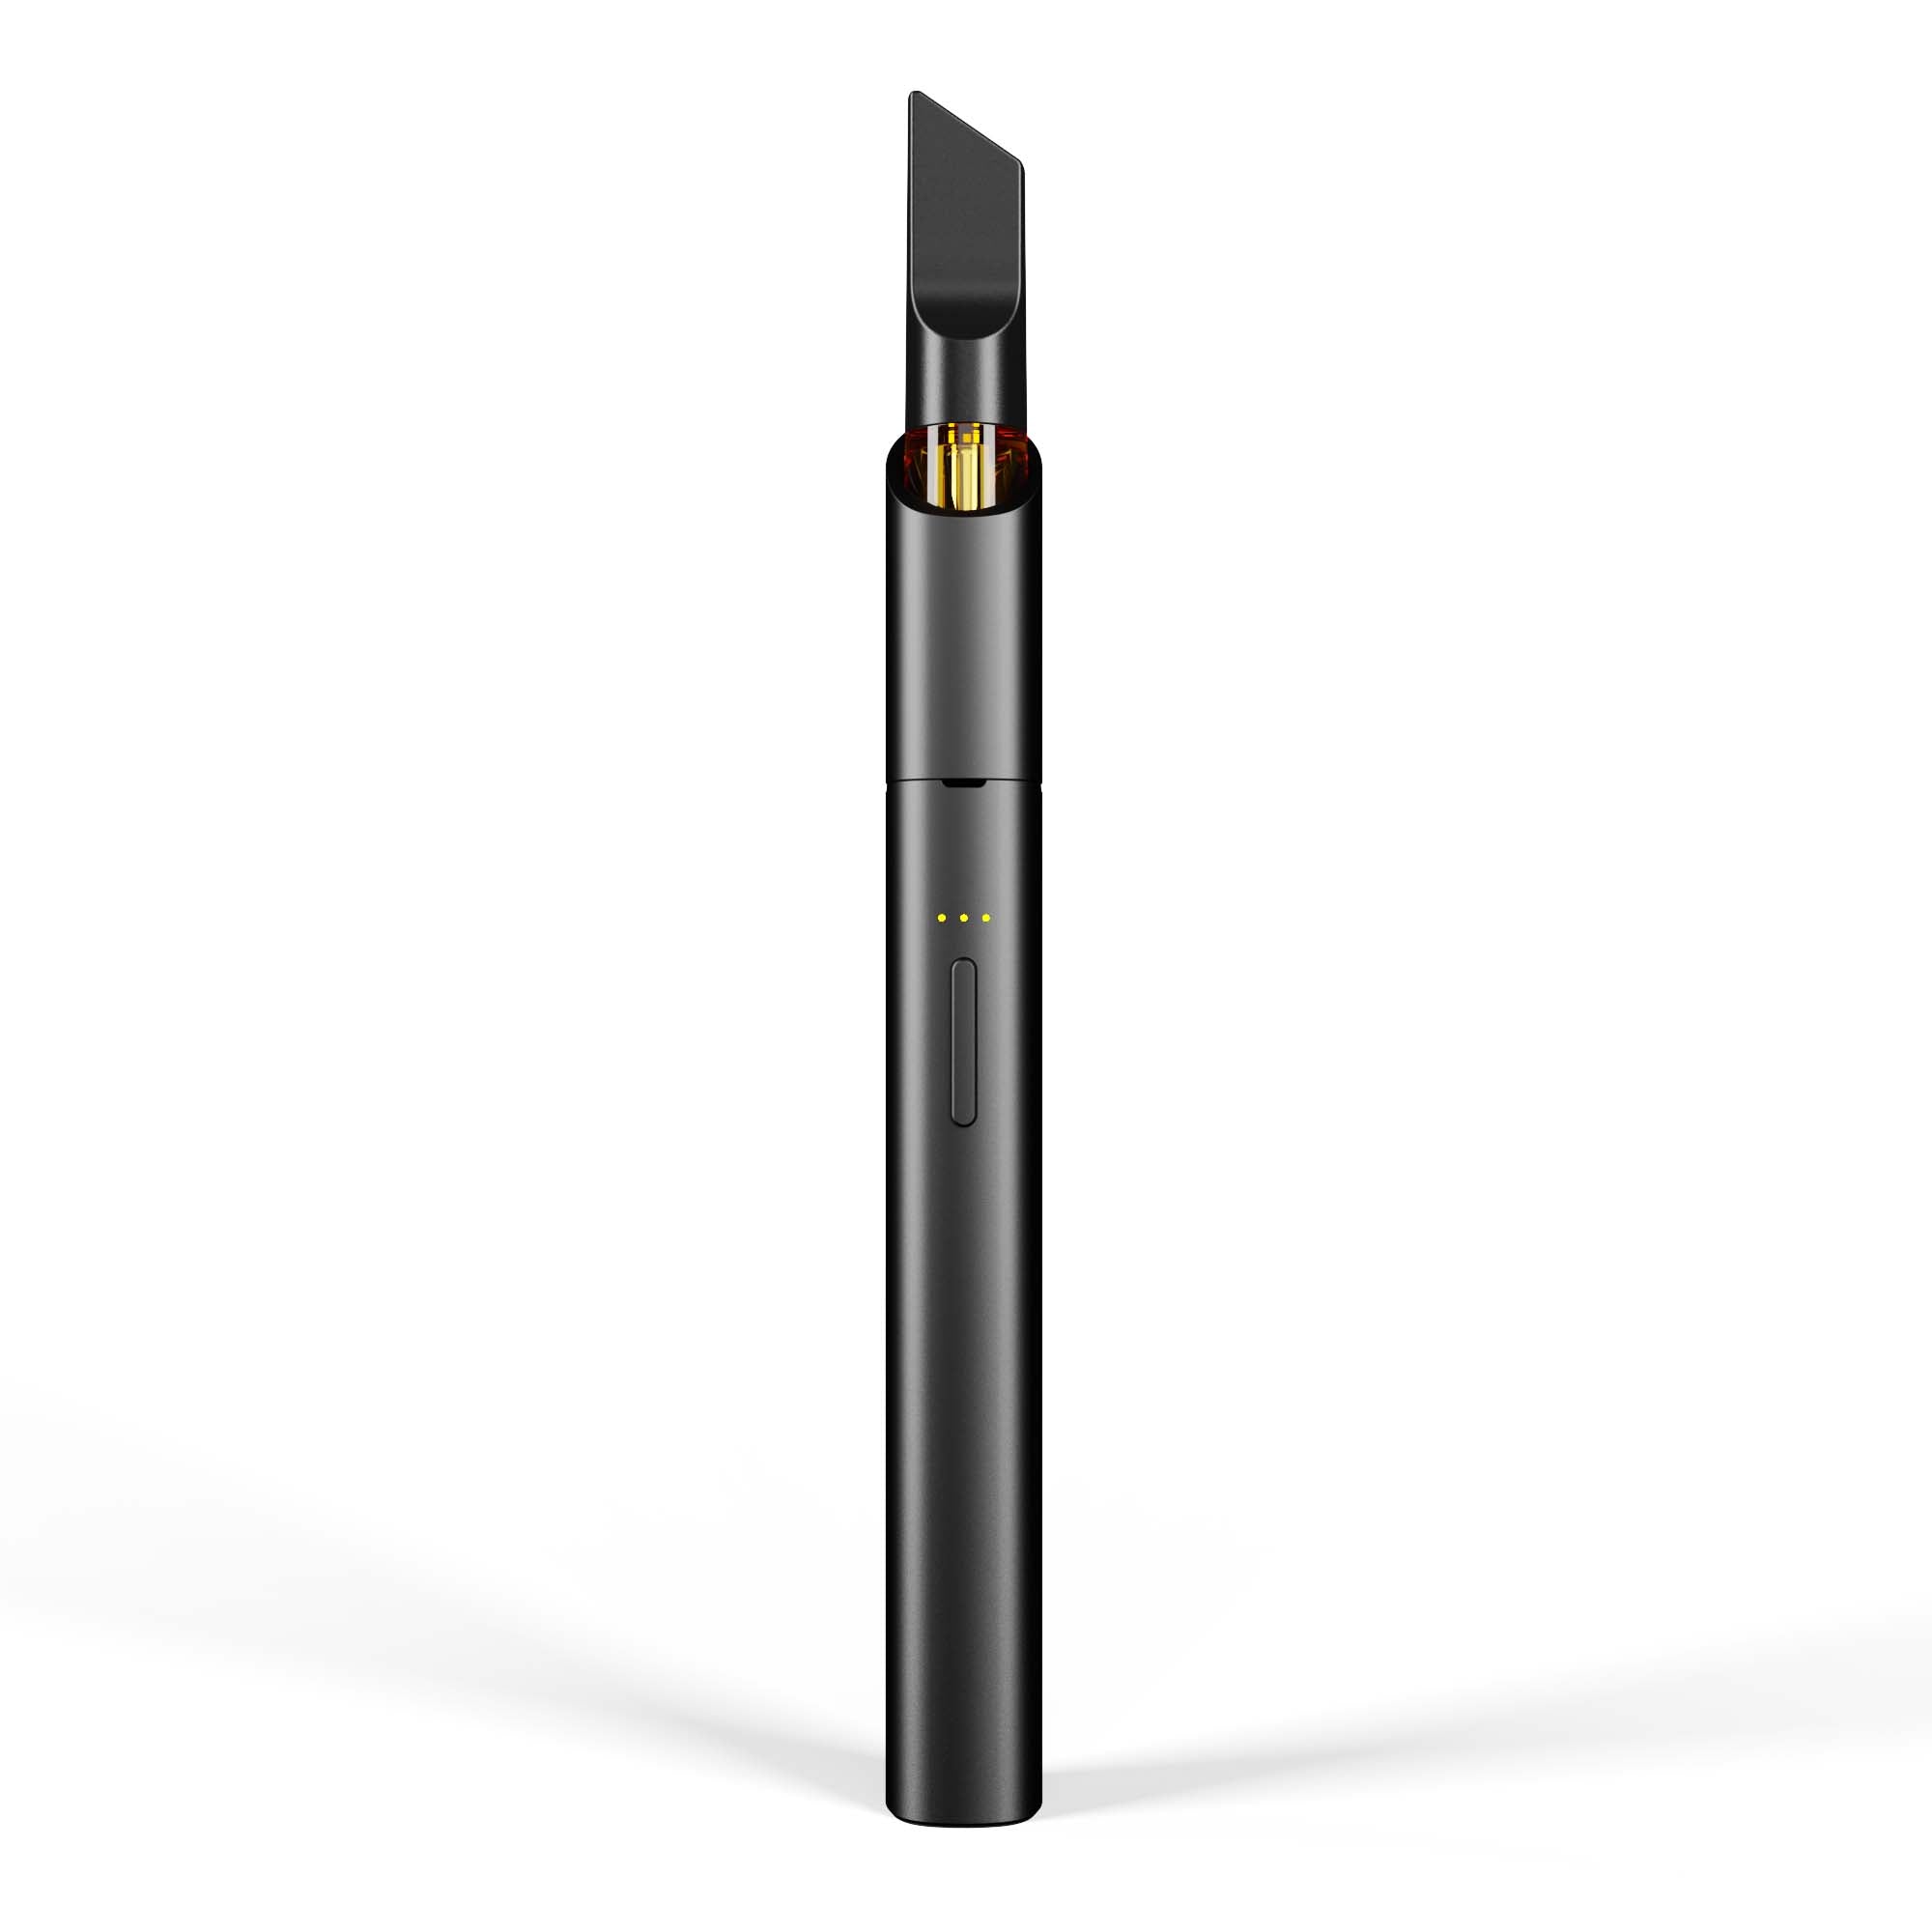
Get Your Vista Edge Series Now
- Filler For Volume Loss In Cranleigh, Surrey - September 27, 2025
- How To Tell If Someone Has Face Fillers? - September 25, 2025
- How To Safely Take Kratom Capsules For Pain And Anxiety - September 24, 2025